
For CURVES, high-contrast & high-saturation ones usually have Curves that are S-shaped (The left side of the histogram, which controls the shadows, are pulled low while the right side of the histogram, which controls highlights, are pushed up.) "Ligher" ones have usually have points above the original line. There are many other combinations. Experiment!
As for LAYER STYLES, I usually use them for vignetting (the dark rim you see around Linda in the first "After" graphic below). However you can also use them to add noise/gradient/textures/glow to the whole layer. What I've done (for both graphics) is to add a subtle inner glow (radiating from the centre) so that Linda's face is brightened up & thus contrasts better against the (dark) background.
There are endless things you can do with Curves, Layer Styles (& many other tools in various image editing software). Take these 2 graphics & their PSD files only as a reference. The most important part is to "get your hands dirty" & try them all out!
Tip for Photoshop users: If you do not have a layer mask, change the layer to a SMART OBJECT before applying filters. This will allow you to make non-destructive changes to the layer, adjust your filter settings endlessly, mask parts of your filter(s) & much more!
![linda_compare1 [30.07.11]](http://farm7.static.flickr.com/6142/5990189273_f0ee6ef558.jpg)
PSD file 1: http://www.mediafire.com/?4m3vas8vjb5w646
![linda_compare2 [30.07.11]](http://farm7.static.flickr.com/6023/5990188621_86c505f92c.jpg)
PSD file 2: http://www.mediafire.com/?8mv0muwkahjl9k9
Sidenote: Hey do tell me which "Before & After" you like more! :)
![tobyleung [08-07-11]](http://farm7.static.flickr.com/6005/5981650702_d00abb903b_z.jpg)
![katetsui [26.07.11]](http://farm7.static.flickr.com/6006/5981651380_2dd91557ff.jpg)
![natalietong [26.07.11]](http://farm7.static.flickr.com/6026/5981652980_5fc8d69f99_z.jpg)
![selenali [27.07.11]](http://farm7.static.flickr.com/6028/5981654174_0f39ea742f.jpg)
![sharonchan [27.07.11]](http://farm7.static.flickr.com/6140/5981653484_8ee320d6a7.jpg)


![ruco [24.07.11]](http://farm7.static.flickr.com/6132/5969575510_9000213614.jpg)


![nikichow [28.06.11]](http://farm6.static.flickr.com/5320/5912743408_3f1d899bd6_z.jpg)
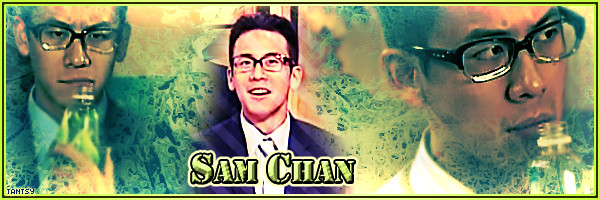
![kevin [28.06.11]](http://farm6.static.flickr.com/5239/5912743026_c1e28df501_z.jpg)
![moses [05.07.11]](http://farm6.static.flickr.com/5278/5912743718_d2f27e6c78_z.jpg)
![bernice [07.07.11]](http://farm7.static.flickr.com/6048/5912183559_551222dcbe_b.jpg)